 Home
HomeA Step-by-Step Guide: How to Get an Idea Made Into a Prototype
Do you have a mobile app idea and you wonder how you can easily check its relevance? Well, designers can help you by preparing a prototype of your future app.
Thanks to a ready-made prototype, people will have a much better idea about the purpose of the future app and what target audience it is supposed to reach. Prototyping will help to save both your time and money while keeping you and a designer on the same wavelength regarding your app idea design.
So, if you’d like to know how to get an idea made into a prototype and why it’s crucial, keep on reading this blog post. In the process, you will also learn about the differences between a low- and high-fidelity prototyping and how they help to turn an app idea into a final design.
How Prototyping Helps to Evaluate the Value of a Design Idea
The primary purpose of prototyping is the evaluation of an app idea before the product’s layout has been fully designed. So, prototyping:
- makes sure your design idea is implemented as intended
- determines if end-users can use the product (it helps to spot and fix potential usability problems).
Now, let’s take a look at how an idea is transformed into a prototype.
How to Have an Idea Made into a Prototype Step by Step
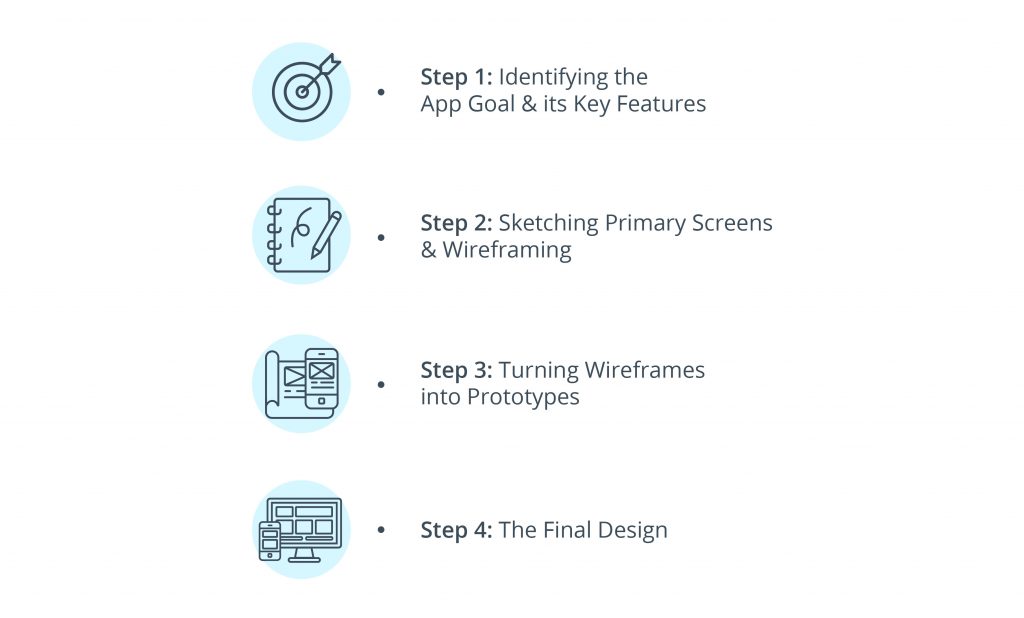
Designers follow these steps to validate (approve) app ideas in the design process.
Step 1: Identifying the App Goal & its Key Features
Clients contact designers with different ideas about how they see their app design. Some clients come with a vague idea of what they want. Others come with clear-cut concepts and even some sketches. A rare few are able to share the full design of the future app. By and large, clients come with very rough ideas that need validation.
Generally, such factors as competition, business industry, and audience goals can’t be ignored when brainstorming for a niche in the app market. Thus, design specialists help their clients by confirming their ideas through questions like:
- What kind of IT solution will this future app bring?
- Does the app meet a real business or consumer need?
For instance, you might want to create an app which intends to address healthcare issues or environmental problems. So, clarity brings a more precise understanding of the app’s future objective.
Once the goal has been defined, the product’s features are brainstormed. Designers start brainstorming ideas to make up a list of key functionality requirements for the future product. At this stage, they identify features that will make the app viable and functional.
Step 2: Sketching Primary Screens & Wireframing
At this stage, clients check all screen sketches to see if their initial concept has been fully grasped (the app’s complexity is also checked, etc.). If the concept was understood, then designers start creating wireframes.
A wireframe is a layout of a mobile app (a sort of basic structure of a screen) that demonstrates what interface elements appear on screens of the potential product.
Wireframing defines the structure of an app before the full-blown phase of designing took place. Wireframes are necessary so that all the parties (designers and clients) stay on the same page and can agree on the workflow.
Then design masters create a clickable design of the wireframes so that the clientcan actually click the buttons of the app-to-be. In fact, the screens have the feel of a real mobile app, but it’s not fully functional yet. The clients can click the links and go to other screens (but they are nothing more than simply linked pictures).
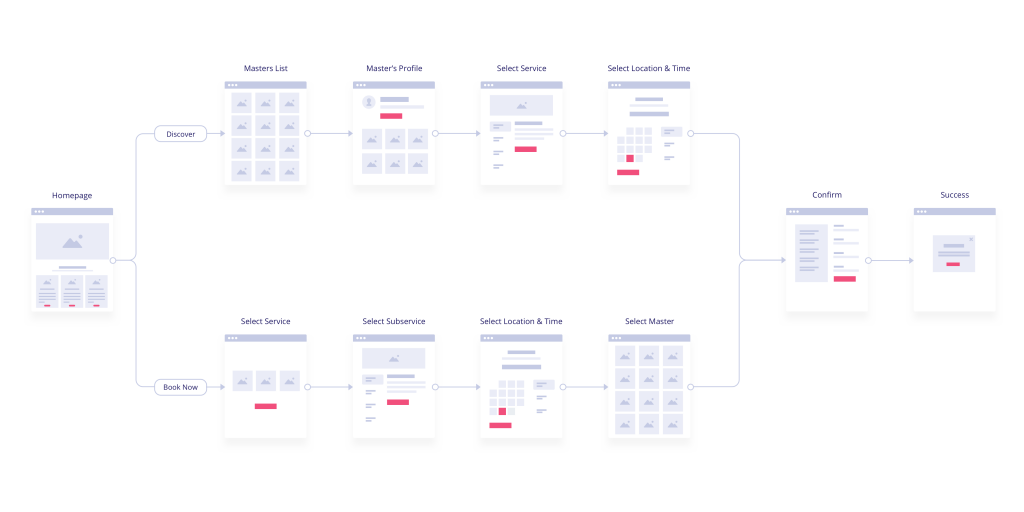
Step 3: Turning Wireframes into Prototypes
Prototypes come in all shapes and sizes, from analog paper prototypes all the way to virtual 3D models. The requirements for a prototype are higher than for wireframes.
At this juncture, design teams share the working prototype with their clients for testing purpose. Design specialists use a number of mobile prototyping tools moving from the initial app concept all the way to the interactive prototype. Design artisans create user interface (UI) design with the help of Sketch and InVision.
InvisionApp is one of the most common prototyping tools used for making basic prototypes, while Sketch is a design app used by designers to create UI, mobile, web, and icon design. Sketch plugins allow creating wireframes and prototypes. You can get further information about Sketch, InVision and 3 other top user experience prototyping tools (UXPin, Webflow, Axure) in this video.
Speaking of prototyping, we can’t avoid the concept of “fidelity.” This concept refers to the number of details and completeness of the design. Generally, prototyping is divided into two distinct categories:
- low-fidelity prototypes (low-fidelity prototyping) – low cost, fewer details, rough and quick to build models.
- high-fidelity prototypes (high-fidelity prototyping) – very detailed, and much closer to the final design.
Designers also run usability testing of low-fidelity prototypes to make sure the app functions as the client had envisioned it in the first place. This testing involves several focus groups who use the app to see how functional and responsive it is. Generally speaking, design gurus work moving gradually from low to high-fidelity prototyping (from simple design to more complex, from the big picture to minutiae of the screen).
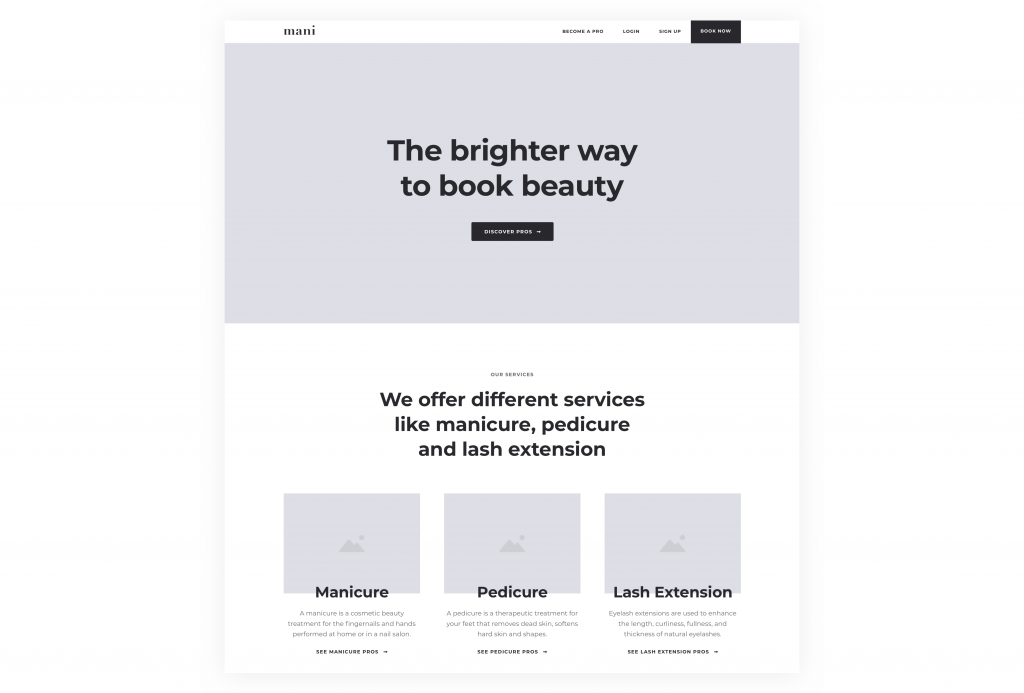
Step 4: The Final Design
A user interface UI design is the final milestone in this process. The actual work on the design of a mobile app takes place after the prototype has been approved by all parties. Designing is about finalizing the app design idea: a consensus on colors is achieved; the shape of buttons is finalized – in a word, it’s the final settlement on the visual design.
When the design work is completed, it is tested to check the validity of chosen UI solutions and the appeal of visual elements. In fact, there can be several interactions, when there’s a need to modify the design.
The prototype helps developers to understand where links between the screens are. If the client is satisfied with the app prototype, then computer engineers start writing code for the app (this stage can last from several months to a year).
To Wrap Up
We’ve addressed the question of how to get an idea made into a prototype. We’ve also argued that prototyping is a crucial part of the design process as it helps to easily validate app ideas. Design specialists create prototypes to check if the initial screens of the product are in line with a client’s vision. Before the app solution is delivered, an input is gleaned from clients to make sure their needs and expectations have been included into the prototype.
Prototyping can be called an “insurance policy”. It helps to save your time and minimize costs.
Do you have an idea that you want to turn into a mobile app? Feel free to contact us for further information about assistance with prototyping.
Content created by our partner, Onix-systems.